6. Installing the Development Environment
6.1. System Requirements:
6.2. Before downloading and installing Android Studio, the following requirements are essential.
- Operating System Version - Microsoft Windows 7/8/10 (32-bit or 64-bit).
- Random Access Memory (RAM) - Minimum 4 GB RAM and 8 GB RAM recommended.
- Free Disk Space - Minimum 4 GB and 8 GB recommended.
- Minimum Required JDK Version - Java Development Kit (JDK) 8.
- Minimum Screen Resolution - 1280 * 800.resolution
6.3. Download and Install Android Studio
6.3.1. Step 1
To download the Android Studio, visit the official Android Studio website in your web browser.
6.3.2. Step 2
Click on the “Download Android Studio” option.
 step3
step3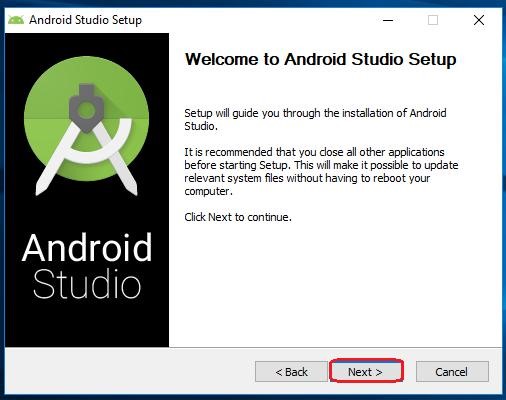 step4
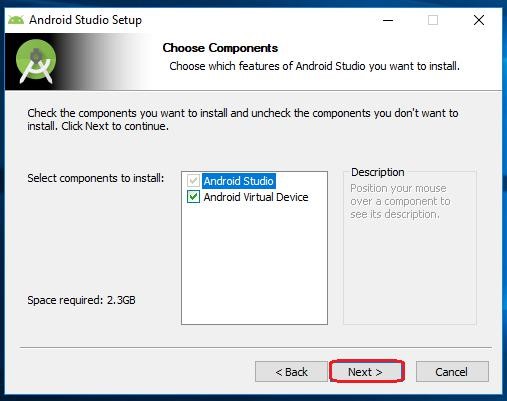
step46.3.5. Step 5
Select the components that you want to install and click on the “Next” button.
 multilink
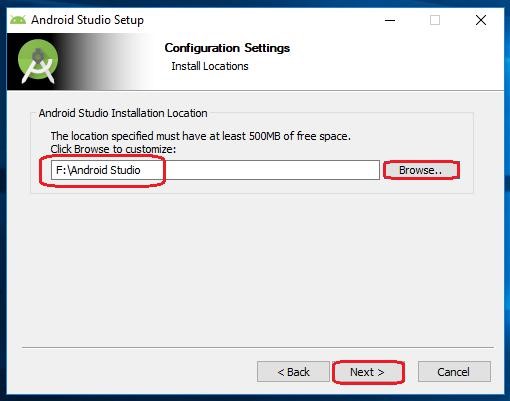
6.3.6. Step 6
Now, browse the location where you want to install the Android Studio and click “Next” to proceed.
 multilink
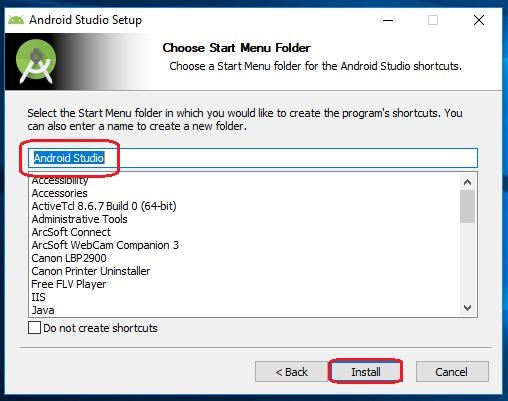
6.3.7. Step 7
Choose a start menu folder for the “Android Studio” shortcut and click the “Install” button to proceed.
 multilink
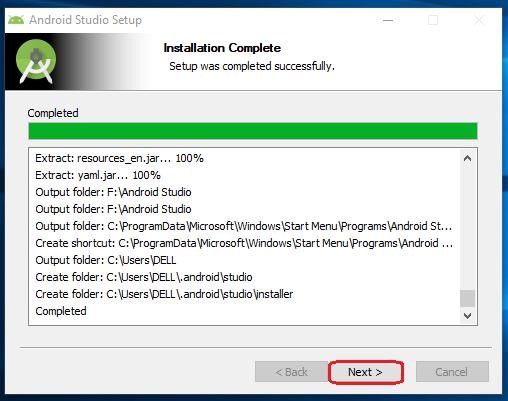
6.3.8. Step 8
After the successful completion of the installation, click on the “Next” button.
 multilink
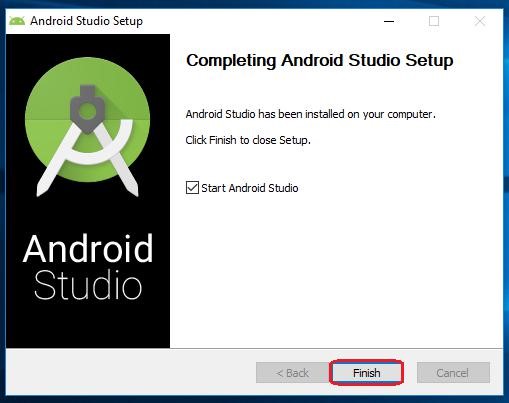
6.3.9. Step 9
Click on the “Finish” button to proceed.
 multilink
Now, your Android studio welcome screen will appear on the screen.
 multilink
Android Studio Setup Configuration
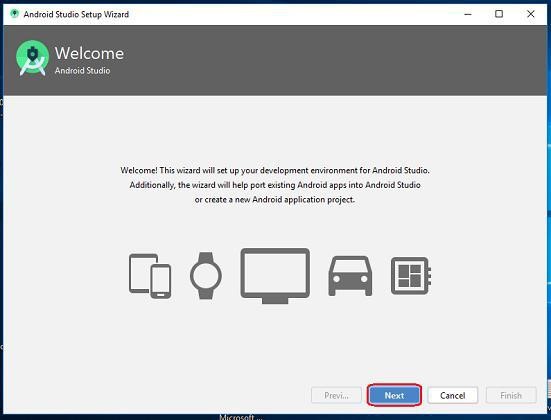
6.3.10. Step 10
“Android Studio Setup Wizard” will appear on the screen with the welcome wizard. Click on the “Next” button.
 multilink
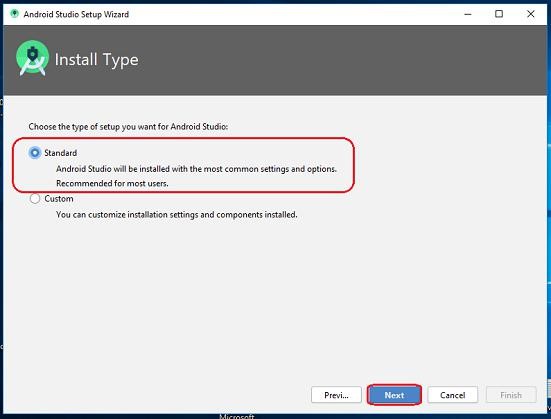
6.3.11. Step 11
Select (check) the “Standard” option if you are a beginner and do not have any idea about Android Studio. It will install the most common settings and options for you. Click “Next” to proceed.
 multilink
6.3.12. Step 12
Now, select the user interface theme as you want. (I prefer Dark theme (Dracula) that is most liked by the coders). Then, click on the “Next” button.
 multilink
6.3.13. Step 13
Now, click on the “Finish” button to download all the SDK components.
 multilink
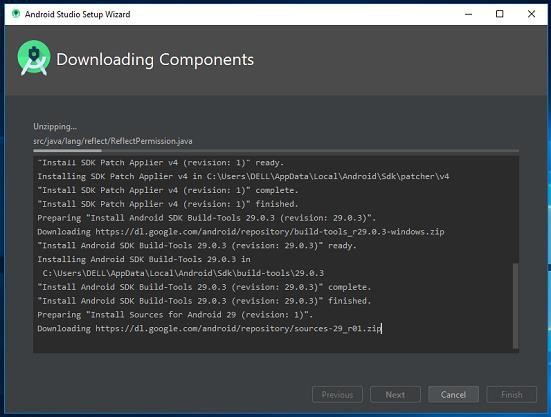
And, the downloading and installation process of components gets started.
 multilink
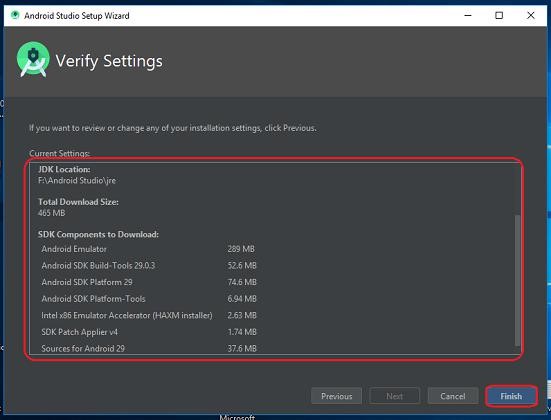
6.3.14. Step 14
After downloading all the necessary components, click on the “Finish” button.
 multilink
Congrats, your Android Studio has been successfully installed in your system and you can start a new Android studio project.
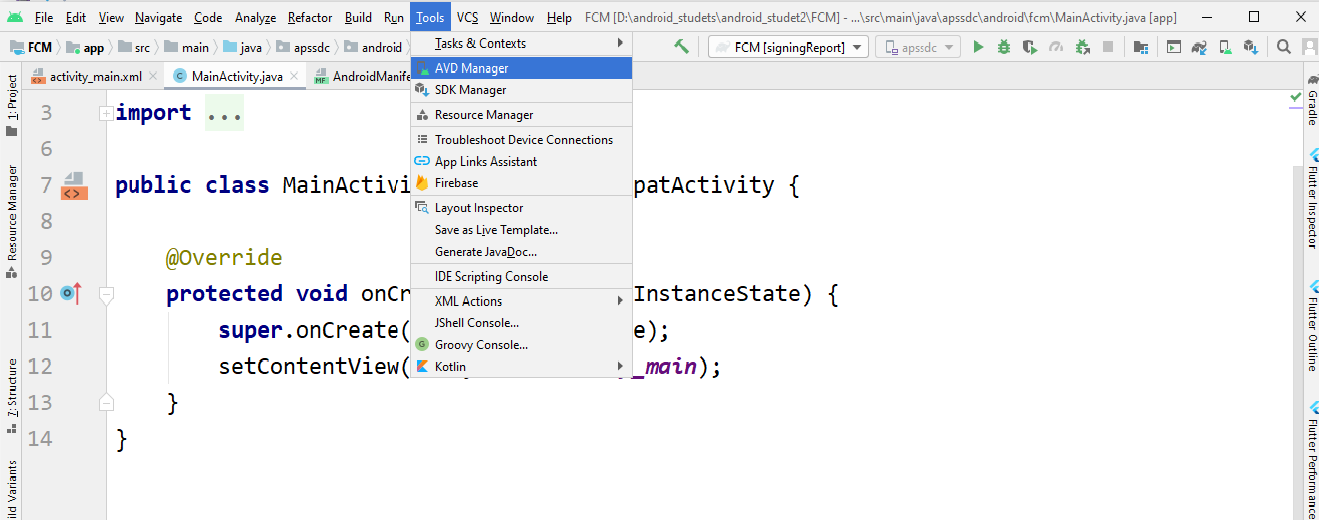
6.4. Emulator Creation:
 mobile
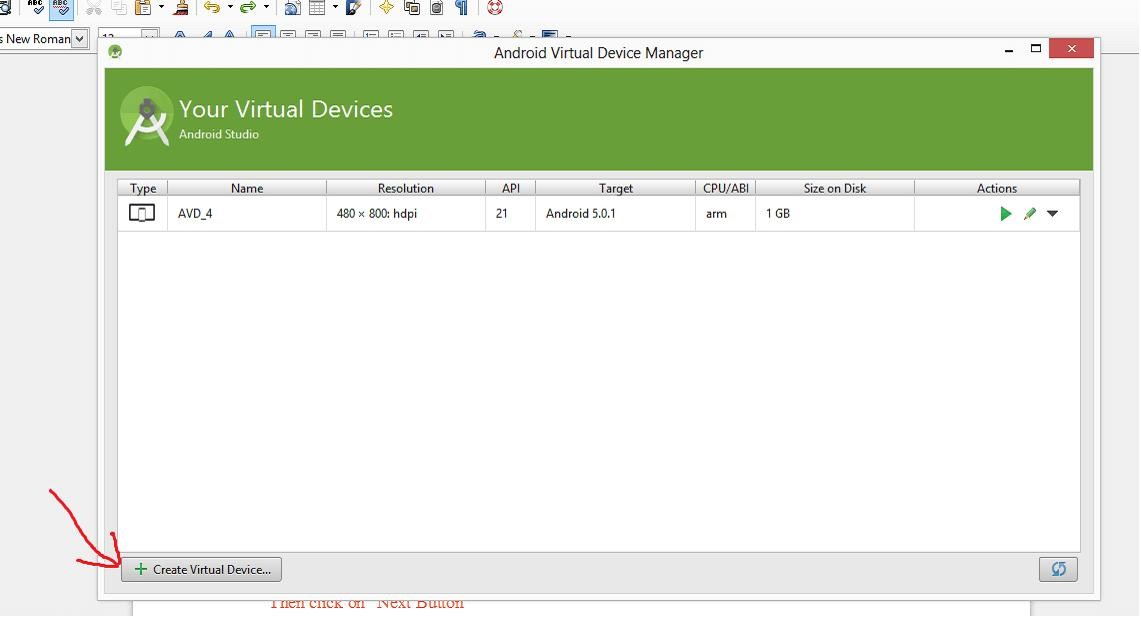
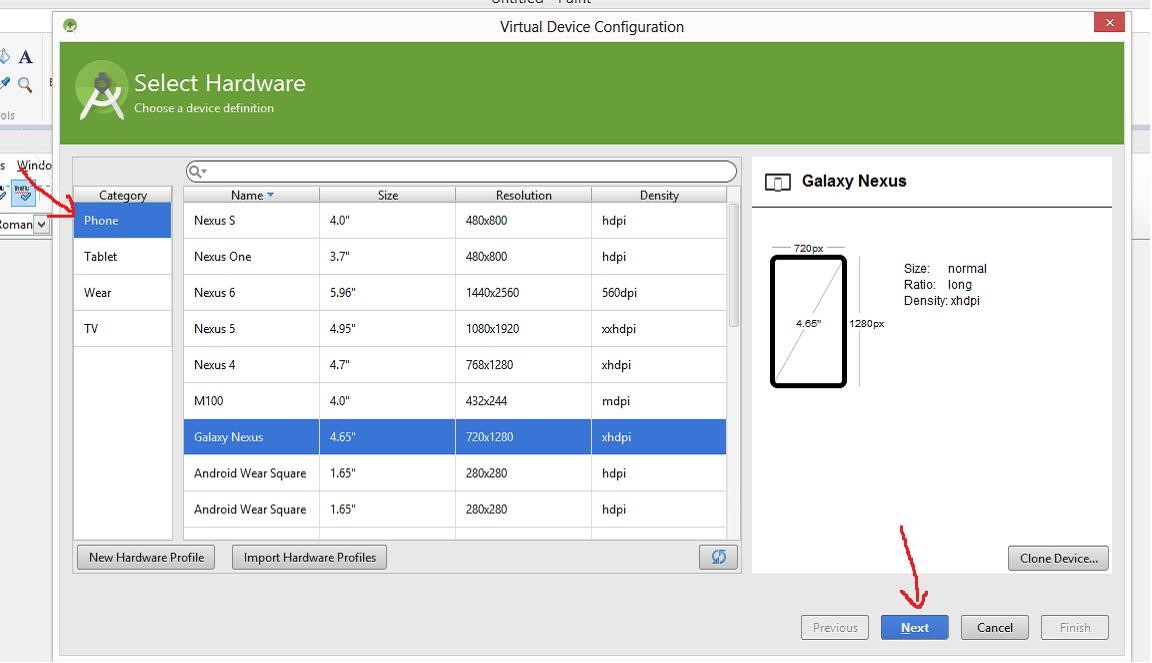
- Click on the “Create Virtual Device” button.
 mobile
- Select “Phone” or “Tablet” as Category and select the device which you want to use to make a Virtual Device. Then click on the “Next” button. Note: select a small screen device for better emulator performance. Devices with a large screen will have a longer launch time (Nexus 4, Nexus 5 etc).
 mobile
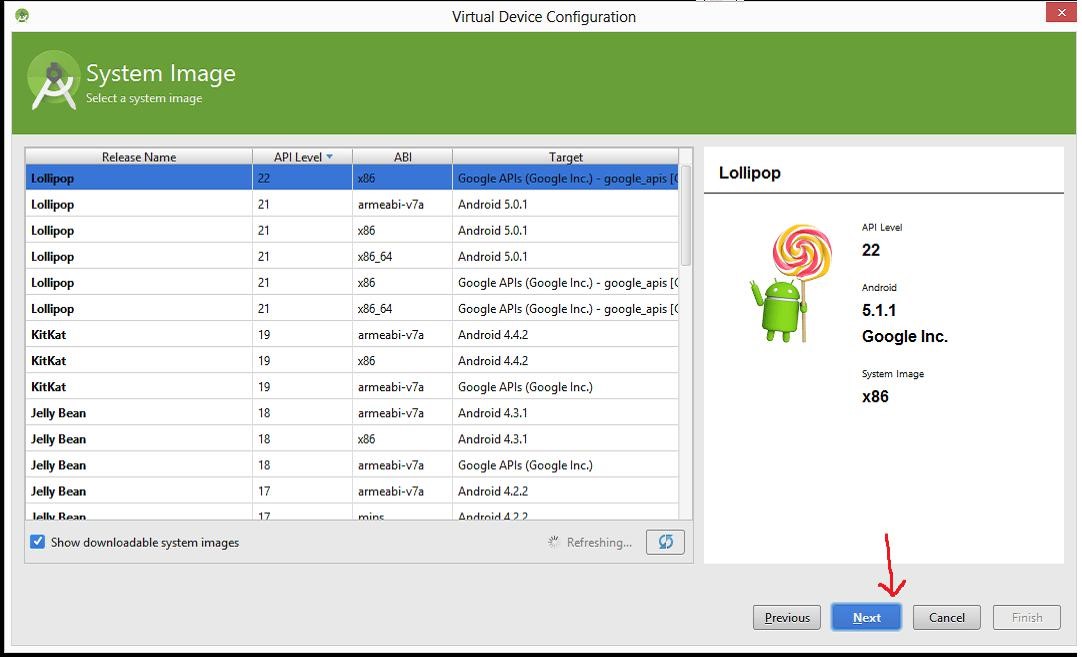
- Select the System Image i.e. the API level of Android OS (KitKat, Lollipop etc). Foxit Quick PDF Library for Android requires an API level of 15 or higher.
 mobile
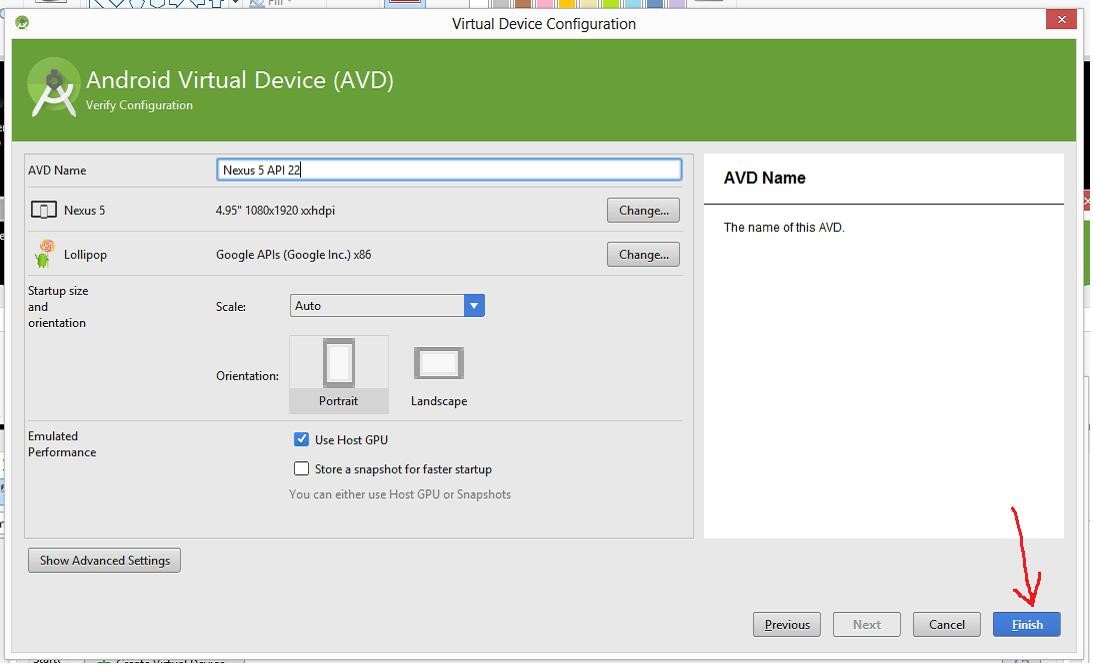
- Now you will see options to verify the Emulator Settings otherwise you may change the settings according to your requirement from this dialog as well and then click on the “Finish” button.
 mobile
- Now you will see the newly created Emulator in the list of available Android Virtual Devices.
 mobile
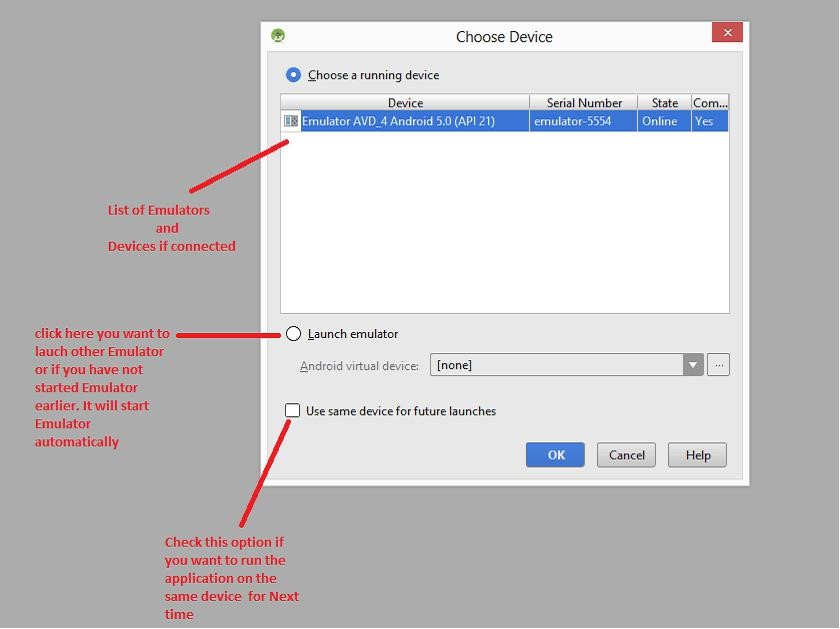
- After launching the Emulator (by double-click on the Emulator option that you want to use as show in the screenshot above), wait for the “Home Screen” to load on the Android Virtual Device and then run the application. It’s important that the Virtual Device has finished loading before you try to run the application otherwise it won’t be recognized by Android Studio and you will be prompted to launch the Emulator again which can cause issues. Once the Virtual Device has loaded and you have run the application the dialog below will appear and you can select the
Android device that you wish to use.
 mobile
- Finally you should now see your application running in the Android Emulator.
6.5. Notes:
- Android Studio can be a bit sensitive with the Emulators. If you find the Emulator isn’t working
(when it has previously worked) check the task manager and remove any loaded Emulator processes. If that doesn’t work try rebooting. This can be an issue in step 7 if you try loading the same Emulator twice you will find that it a) doesn’t let you and b) causes ongoing issues until you have resolved the conflict (as already mentioned, rebooting helps but is not the most efficient).
- We suggest launching the Emulator first from the ADV Manager and waiting for the Emulator to fully load the device (i.e. homescreen is shown) before trying to run the app on the Emulator. If the Emulator has not fully loaded then it will not be shown in the Choose Device screenshot shown in step 7 when you try running the app and then it will give you the option to launch the Emulator again and this will just result in frustrating Emulator conflict issues.
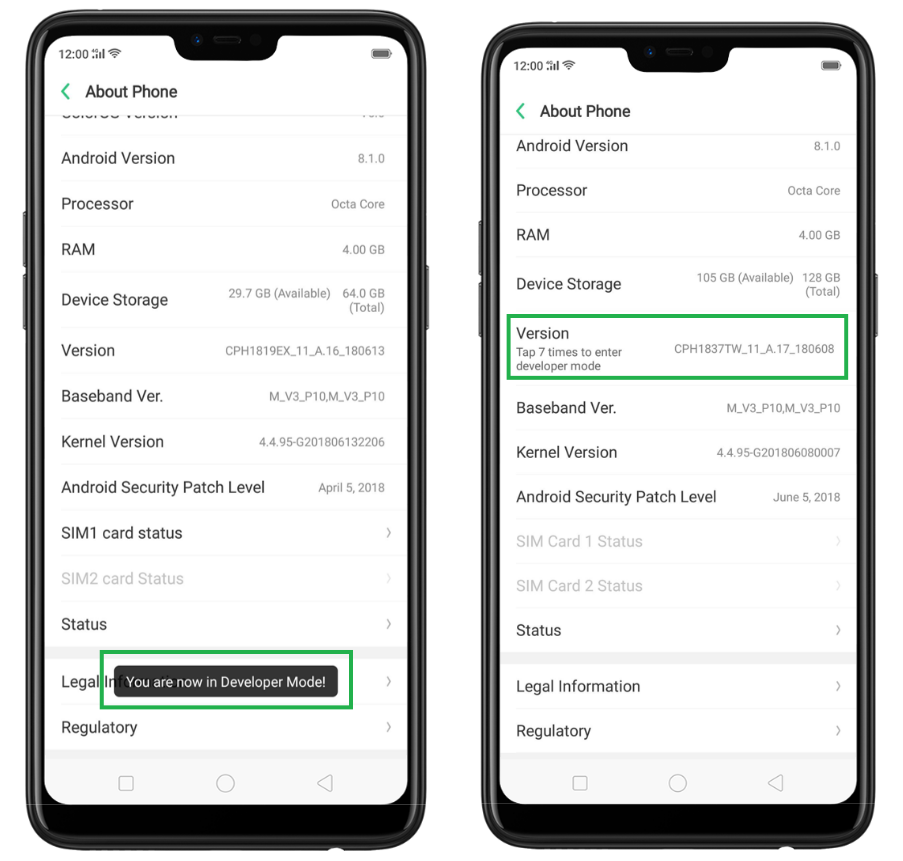
6.6. Enable USB Debugging
- Go to [Settings] > [About Phone] and click [Version] / [Build number] for 7 times in a row to enter developer mode.
 mobile
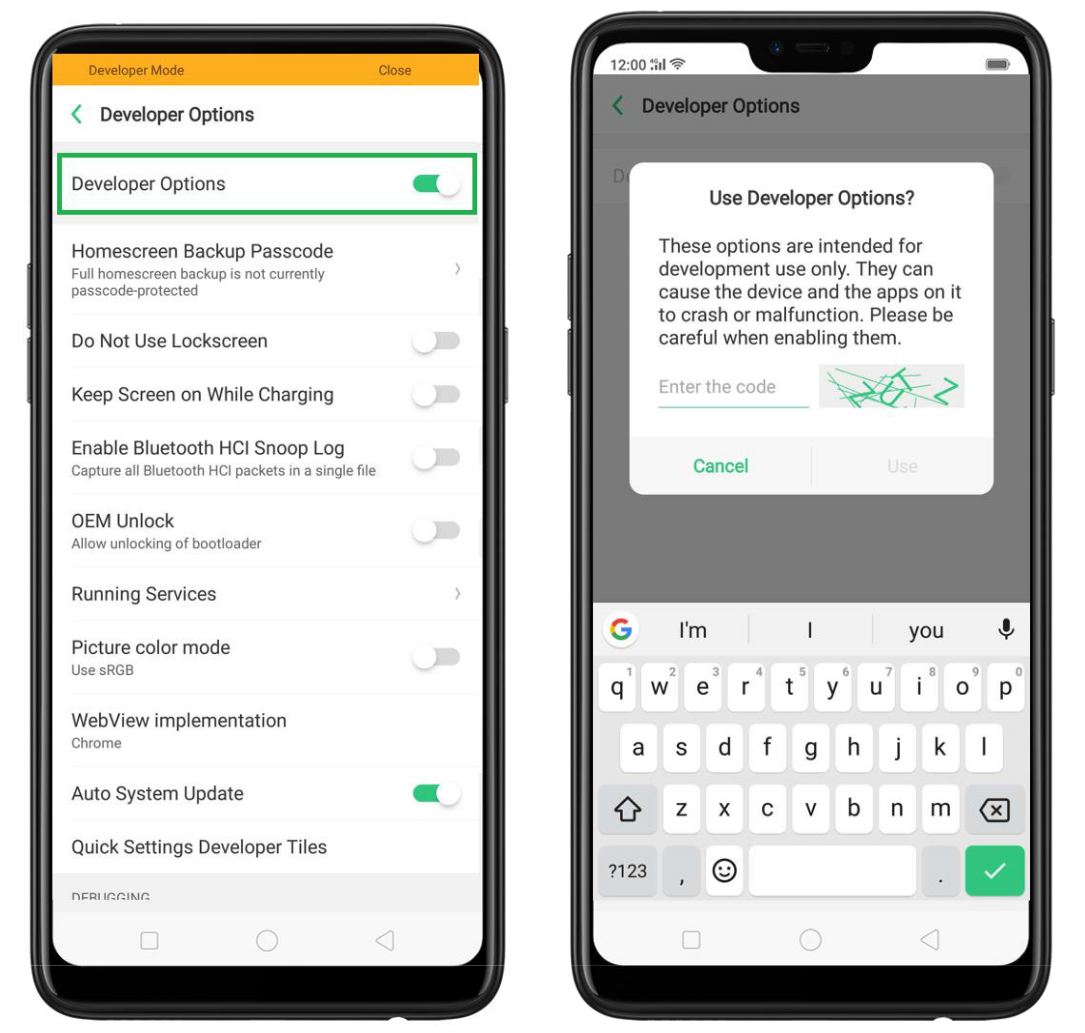
Go to [Settings] > [Additional Settings] > [Developer Options], you’ll be asked to enter a code then press Use.
Toggle to green to enable [Developer Options].To Turn off off Developer options.
Just press the orange highlight at the topmost part of the homescreen.
 mobile
Reconnect your phone to the PC Reconnect your phone to the PC with a cable and click the notification on your phone “Transferring Photos via USB.”